
 Photo by Im3rd Media
Originally Posted On: https://newtechwood.com.au/blog/decking-maintenance-how-to-prepare-your-deck-for-winter/
The good news is, if you have composite (or plastic) decking, the decking maintenance requirements are minimal. You won’t need to do anything to prepare your deck for winter, other than your usual cleaning.
Resistant to mould, pests and UV rays, composite decking does not rot, stain or fade and provides a low-maintenance alternative to traditional timber.
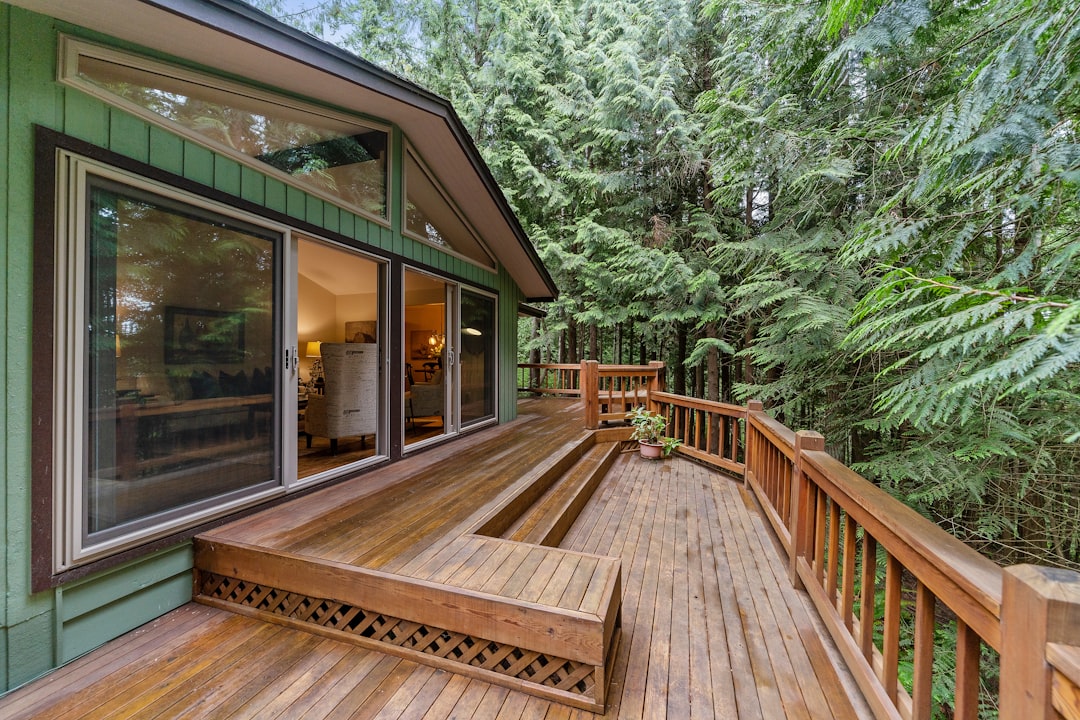
Timber decking, on the other hand, does require regular maintenance. And a little time and effort in maintaining your deck can help to increase its lifespan – and save you money in the long-run.
While the harsh summer really takes its toll on the state of a timber deck, winter can be equally as damaging. However, we’ve put together some simple steps you can take to minimise the impact of the winter weather on your timber deck.
Remove Furniture & DebrisStart by removing any furniture and debris from the deck, to create a clear surface.
Water can accumulate beneath objects which sit directly on the wooden surface, while leaves and other organic matter can start to decay. This may cause mould, mildew and / or staining on your boards. If left untreated, moisture will build up, which can lead to rot.
So, give the deck a good sweep and boost your green credentials by adding the organic waste to compost. Compost bins are a great way to make use of organic waste and your plants will love you for it.
Inspect the DeckInspect your deck, starting with the deck’s surface. Slowly walk across its entirety, looking for signs of damage or deterioration, including mildew, mould, rot, or termites.
And pay attention to how the boards feel beneath your feet. Do they feel bouncy or spongy? If so, this can indicate an issue with the structure underneath the boards.
In addition to the boards themselves, you will also need to examine the railings, steps, joists and posts and make any necessary repairs. Be sure to use high-quality materials and components, as this will help to increase the longevity of your deck and reduce future maintenance issues. Nipping a small problem in the bud now can prevent a bigger, more expensive issue down the track.
If the wood splits or seems soft when re-hammering the nails or tightening the screws, then it will need to be replaced.
Check the structure of the deck carefully for any deterioration. Structural issues can pose safety risks and, depending on the severity of the situation, could be a sign that it’s time for a new deck.
If the posts indicate traces of rot or other forms of damage, urgent action is required. The posts could either shift or collapse, which renders your deck extremely unsafe and in need of some serious repair work, if not replacing.
And be meticulous when inspecting the joists. Joists are more prone to mildew and rot, due to a build-up of moisture. This is because they are not exposed to direct sunlight. When joists weaken, the structural integrity of your entire deck is compromised and it could begin to sag or warp.
As with decking posts, repairing or replacing the joists is a big job and often requires the help of professional contractors. This can be a very expensive undertaking and replacing the entire deck can sometimes be a more cost-effective option.
If you are unsure whether your deck is showing signs of substantial wear, seek professional advice.
Give it a Thorough CleanOnce any repairs have been carried out, give your deck a thorough clean with soap and water, or a good deck cleaner, to remove dirt, mould and nail stains.
For tougher stains or caked-on debris, use a pressure washer.
However, pressure washing can also cause damage to the deck if the hose is held too close to the surface, or the pressure is too high. So, be sure to read the instructions carefully and avoid gouging the wood at all costs. As a precaution, we recommend testing the pressure washer on an inconspicuous area of the deck first.
And remember to clean along the edges and between the cracks.
Sand the DeckLightly sand the surface of the timber deck – in the direction of the wood grain – and wear a mask to prevent you from inhaling the sawdust.
Sanding will address any fading, peeling paint, or discolouration issues. Even the most stubborn of stains / dirt can be removed by sanding the area.
Sanding will also enable the protective sealant to be penetrated evenly across the boards. Just remember to sweep away the sawdust first!
Seal the DeckOnce the deck has been nicely sanded and swept, it is ready for sealing. A high-quality sealant will help to prevent moisture from penetrating the wood and will also shield the boards from harmful UV rays.
These protective wood stains are available in a variety of colours. Just be sure to buy one which is specifically rated for outdoor wood.
Firstly, protect the bottom of your walls with masking tape and make sure the deck is dry. Then stir the sealer thoroughly, to ensure the pigment is evenly mixed throughout, which will help to give you a consistent finish. Do not shake the tin, as bubbles will form in the finish.
Start by ‘cutting in,’ or painting the edges of the boards with a paintbrush. Then use either a paintbrush or a roller to apply the sealant down the length of the boards, following the grain of the wood for an even finish. And remember to work outwards from the wall, so you don’t end up painting yourself into a corner.
Avoid application in direct sunlight, as the product will dry too quickly and will not sufficiently absorb into the wood. Allow the first coat to dry and then add a second coat for extra protection. Read the manufacturer’s directions and remember that drying times differ according to air temperature and humidity.
A resurfacer or restoration product provides an alternative to wood sealers / stains. However, they do not show the wood grain and the finish is similar to that of a very thick paint.
A little time spent caring for your timber deck will help to ensure it withstands the harsh winter weather – and is in good condition for spring.
If your wood deck has reached the end of its lifespan and you’d like to replace it with a low-maintenance option, find your local NewTechWood supplier, or contact our friendly team.
